You have 0 items in your cart
Self manipulating, massaging, and sculpting the skin, face, scalp, and body are hot trends currently. Think icy-ball facial rollers and lymphatic-draining body sculptors.
But did you know that you don’t actually need any products or tools to give yourself a luxurious massage treatment? That’s right — your hands and fingers do a splendid job if you know how to use them.
Moreover, one of the best, yet often-overlooked, areas for self massage is the ears! In this article, we’ll share 5 easy ear massage techniques to try right now.
Steps to take before your ear massage
Before we jump into the ear massage techniques, let’s get those ears ready to be caressed. Here are a few ways to prepare to for your ear massage:
- Wash your hands with soap and water. Whenever you touch anywhere around or close to your face, you want to start with clean hands to remove germs and reduce the risk of bacteria spreading to the ears, eyes, nose or mouth and into the body.
- Pull back long hair. If you have long hair, be sure to pull it away from the ears. It’s probably easiest if you tie it back with a ponytail holder. You want easy access to your ears without your hair getting in the way, which is annoying at best and painful at worst.
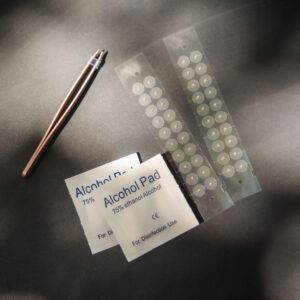
- Remove earrings and ear seeds. If you want to devote time to an actual, serious ear massage, remove anything attached to the outer ear. Important note: If you’re undergoing an ear seed treatment protocol lasting multiple weeks, keep your ear seeds on so you don’t deviate from the protocol and decrease your chances of the ear seeds working to their fullest potential. The massage can wait, or you can select ear massage techniques that don’t impact the ear seeds too much.
If you don’t have ear seeds on currently, an ear massage is a good way to warm up and stimulate the ears just before you seed them.
The 5 ear massage techniques
There are several ways to massage the ears, but here are 5 easy ear massage techniques that happen to be our favorites. For best results, do these techniques on both ears. Your ears will thank you for balancing them out. As you massage, go slowly and breathe deeply. You could spend two minutes doing these moves, or you could spend 20. It’s up to you, but know that even just a few minutes is better than none.
So that you understand the ear anatomy vocabulary we’ll be using, before you go any further, familiarize yourself with the 10 outer ear anatomy terms in this blog post.
Ear “uncurling”
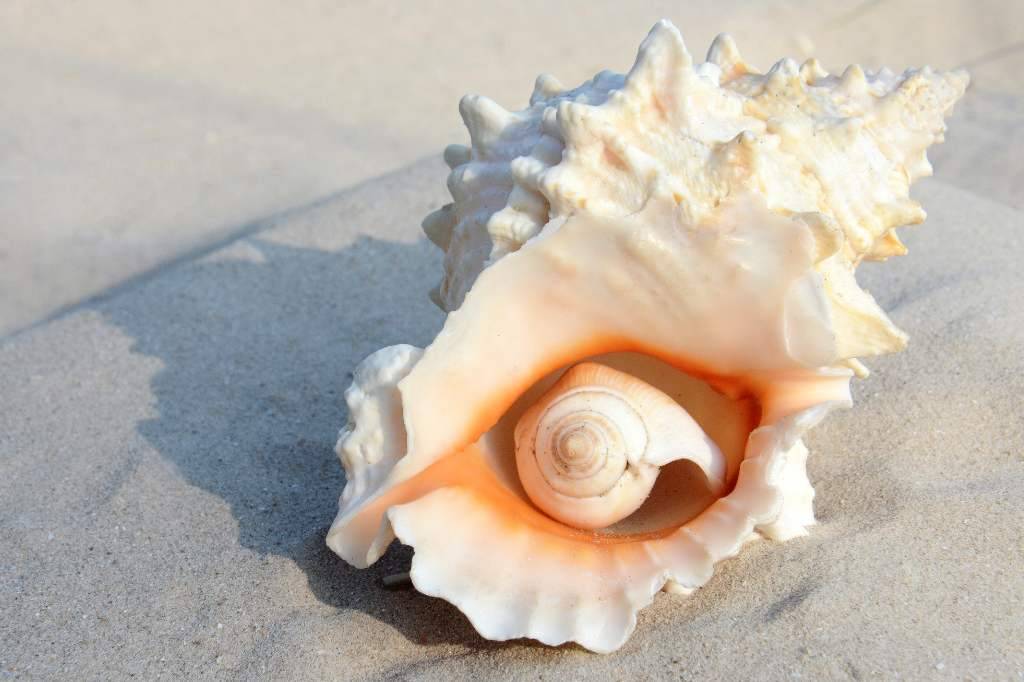
You know how your ear looks kind of curled like a conch shell (and interestingly enough, the “concha” is part of the ear anatomy)? Take parts of the helix (the outermost ridge of your ear that curls inward) between your fingers and “uncurl” or “unfold” it.
Ear circles
This next one we like to do with children when they have ear infections. Make a V with your index and middle finger, and place that V under your ear like you have scissors and are ready to cut off your whole ear with your finger scissors. Now, taking the ear in between your index and middle fingers, go in a circle in one direction a few times, then go the other direction.
Ear tugs
This one is incredibly simple: take your outer ear between your fingers and gently but firmly pull — in all directions and angles, up and down and all around.
Tragus stimulation
The tragus is that small node that sticks out in the middle of your ear closest to your eyes. Take that piece between your fingertips and press on it. Then, like you did with the outermost edge of the ear, perform some circles, tugs, and pulls on the little tragus.
Ear pinches and presses
Now let’s get into our favorite territory: auricular acupressure! Yes, you can follow a placement chart to press and pinch on certain points, but in the case of a fluid ear massage session, we like to let our ears communicate to us. We can learn a lot about issues and symptoms we might not have even realized we had.
By pinching and pressing all around the front and back of the inner ear, we’re likely to find tender spots that could mean those points, and their corresponding body parts, need some extra TLC — and maybe a good ear seeding too!
Benefits of ear massage
Now that you know some ear massage techniques, why even take the time to massage your ears?
Besides it being an indulgent experience (not to mention free, convenient and easy), ear massage, like ear seeding, has several health benefits:
- Stress reduction
- Improved sleep quality
- Pain relief
- Increased circulation
- Emotional balance
- Enhanced focus and concentration
- Better body-mind connection
Ear massage is so great because it can really be done anywhere and, with the exception of a few massage moves, inconspicuously. What looks to anyone else like you’re simply fiddling with your ear is in actuality to you a legit pick-me-up type of massage.
Also, these ear massage techniques don’t have to be limited to self massage only; we encourage you to try this on a partner, friend, child, or even baby (ever so gently with a little one, of course!).
To sum it up
In the world of holistic health and wellness, ear self-massage shines as a versatile and accessible practice. Its many benefits, from stress reduction to improved sleep quality and emotional balance, make it a valuable addition to your holistic health toolkit. (Speaking of kits, we have some good ones you should really check out…)
Whether practiced on its own or in conjunction with techniques like ear seeding, ear self-massage has the potential to promote a healthier, more balanced life. So, give the healing touch of ear self-massage a try today!