You have 0 items in your cart
Let’s say you’ve purchased ear seeds. They’re on your bathroom counter, ready to be used, but you’re not sure how or where to apply ear seeds yourself.
Don’t panic — we’re giving you our best tips for DIY ear seed application in this blog post. Read on!
Step 1: Gather your ear seeds materials
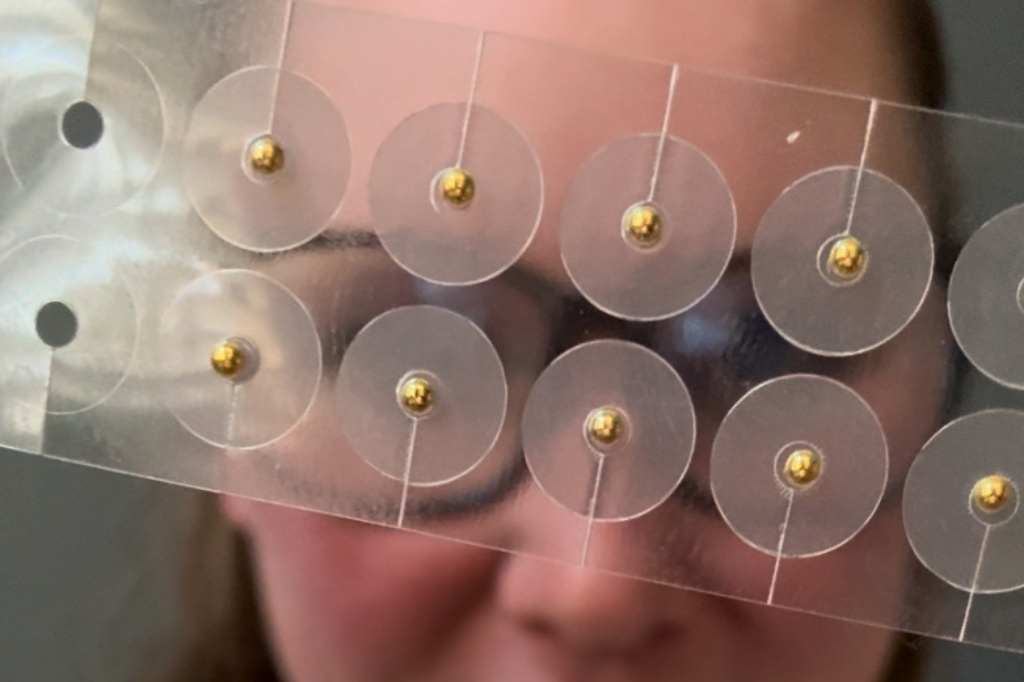
Ear seeds
For your first application of ear seeds, we recommend that you have between 6 and 10 ear seeds (3 to 5 per ear). Because at My Ear Seeds we currently sell 24K gold and silver stainless steel ear seeds on plastic strips, our instructions in this article are based on those particular types of seeds. Other kinds of ear seeds may require different directions.
Tweezers
The type of tweezers you use doesn’t matter much. Just make sure the tweezers are clean and still sharp. A new pair tweezers might work better than the old ones you’ve kept in the back of your drawer for years.
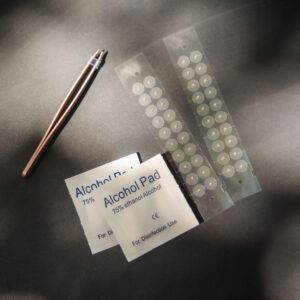
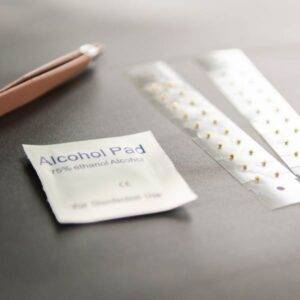
Alcohol swabs or wipes
Individually wrapped packages of alcohol swabs or wipes (we use these words interchangeably) will help you get your ears clean prior to seeding.
Ear seeds chart
Where you put the ear seeds matters if you’re seeking to treat a specific condition. We know this to be true because in many auriculotherapy research studies, researchers will divide participants into two groups: one group with ear seeds on very particular ear acupressure points associated with the targeted system of the body, and one group with “sham” points, points that wouldn’t have any effect on a specific body system when pressed.
Dr. Andreas Wirz-Ridolfi even published an article called “The History of Ear Acupuncture and Ear Cartography: Why Precise Mapping of Auricular Points Is Important.” The article essentially asserts that the efficacy of the auriculotherapy (in our case, ear seeds) is only as good as the points on which they’re placed. The “idea” ear seeds chart may very well be Dr. Frank Bahr’s, which is included in Wirz-Ridolfi’s article if you want to take a look. It is a very thorough and complex ear seeds chart, complete with coordinates and dozens of points.
If finding an ear seeds chart you can trust to apply ear seeds yourself feels overwhelming, we get it. That’s why we offer a 30-minute guided ear seeds consultation, virtually. So no matter where you are in the United States, from the comfort of your home you can connect with one of our ear seeds coaches who can virtually show you where to place ear seeds, using ear models, charts and diagrams, and your coach’s own ears.
Mirror
Grab a clean mirror because it’s the only way you’ll be able to see where you’re placing the ear seeds yourself. Sure, you’ll need to tilt and rotate your head a bit, but a mirror will help your DIY ear seeds placement tremendously.
Step 2: Clean your ears with the alcohol wipes
For longer-lasting ear seeds (up to five days per seed), get better results by starting with dry, clean ears. Sure, you can wash your ears in the shower, but most effective will be you making sure they’re dry and then cleaning them with alcohol wipes just before seeding. Get all the ridges, nooks, and crevices of your outer ears, then throw away the wipe.
Step 3: Peel the ear seed off its plastic strip
Take the tweezers and gently lift the edge of the ear seed adhesive with the tweezer tip. You may need to rotate or twist the plastic strip the ear seed adhesive rests on, simultaneously pulling the ear seed away from that plastic.
Step 4: Place the seed on your ear and press
Referencing your ear seeds chart (or, even better, in a guided virtual session with our team), identify where you’ll be placing the seed. As you look at your ear as best you can in the mirror, assertively but gently stick the ear seed into place, pull the tweezers away, and press on it with the tip of your finger for a couple of seconds.
Step 5: Manually press on your ear seeds 3x per day
Manual stimulation of the ear seeds with your own fingers, gently and firmly, at least three times per day for 30 seconds to a minute each time, is part of many research studies about ear seeds. We’re partial to evidence-based research, which is why we highly recommend replicating what researchers advise their study’s participants.
Not sure if you’ll be able to remember? Until it becomes a habit, purchase and download our Ear Seeds Tracker, where you can check off each time during the day that you manually apply pressure to the ear seed. Hint: Setting recurring alarms on your phone can prevent forgetting too!
Practice with the ear seeds makes perfect
To apply ear seeds yourself is to make mistakes, and that’s OK! Like anything else in life, it takes getting used to. But with enough practice, you’ll get comfortable maneuvering the ear seeds on your targeted acupressure points. It’ll soon become second nature, but until then, let us know if you need help.
Happy seeding!

References:
Wirz-Ridolfi, A. (2019). The History of Ear Acupuncture and Ear Cartography: Why Precise Mapping of Auricular Points Is Important. Medical Acupuncture, 31(3), 145–156. https://doi.org/10.1089/acu.2019.1349