You have 0 items in your cart
Welcome to our guide on getting the most from your ear seeds! If you’ve landed here, you’re likely curious about auricular acupressure and are ready to explore the world of ear seeds.
We’re here to help you navigate this wellness journey, in whatever stage of ear seeding you happen to be. Whether you’re a beginner or an experienced user, these ear seed instructions will ensure that you get the best results possible from your ear seeds.
Disclosure: This article contains affiliate links. When you click an affiliate link and make a purchase, we may earn a commission at no additional cost to you. These commissions help support and maintain our business. Thank you for your support!
Instructions for choosing the right ear seeds
Before we dive into the nitty-gritty of ear seed instructions for application, let’s talk about choosing the right ear seeds for you. (Further reading: What Are the Best Ear Seeds?) Ear seeds come in various types, including metal, magnetic, and Vaccaria. Selecting the best option depends on your preferences and needs.
Already know which ear seeds you want?
Metal ear seeds
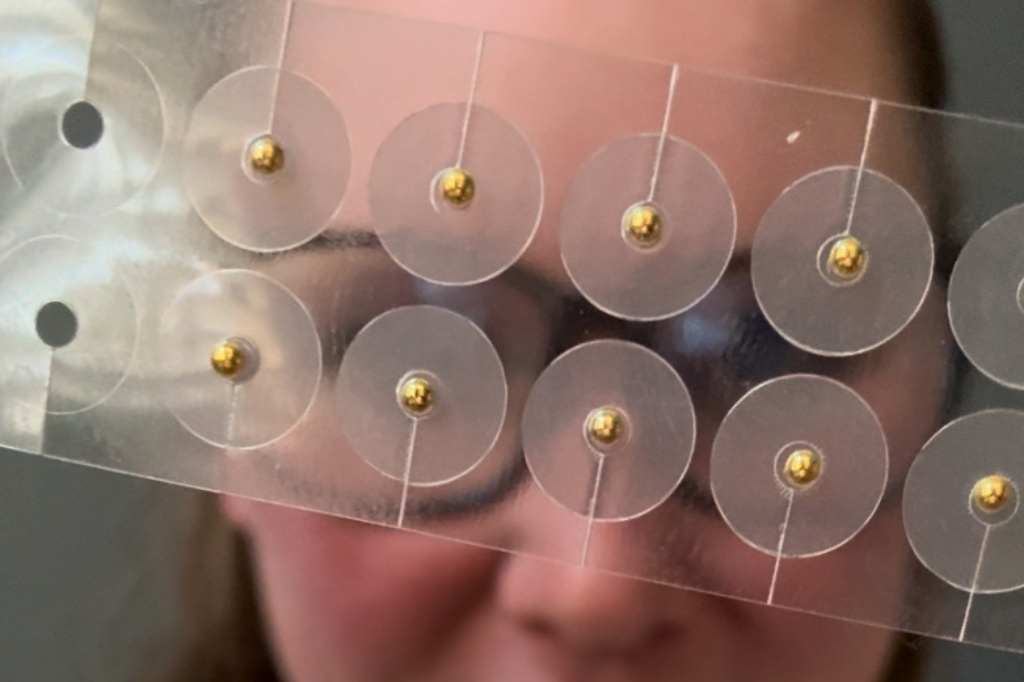
Metal ear seeds are small, metallic spheres often made from materials like silver stainless steel or 24K gold. They’re non-invasive and provide consistent pressure on acupressure points. If you prefer something durable and long-lasting, metal ear seeds could be your choice.
Magnetic ear seeds
Magnetic ear seeds, as the name suggests, have tiny magnets embedded in them. These magnets are believed to enhance the effectiveness of acupressure. Magnetic ear seeds are easy to apply and remove, making them a convenient choice for beginners.
Vaccaria ear seeds
Vaccaria ear seeds, made from small Vaccaria plant seeds, are known for their effectiveness in ear seeding practices. These tiny seeds adhere well to the skin and are often used in auricular acupressure. Due to their reliable adhesion, Vaccaria ear seeds are a preferred choice for individuals who wish to comfortably wear them throughout their daily activities without the worry of displacement.
Consider your comfort, lifestyle, and specific wellness goals when selecting the type of ear seeds that work best for you. It’s all about finding the right fit!
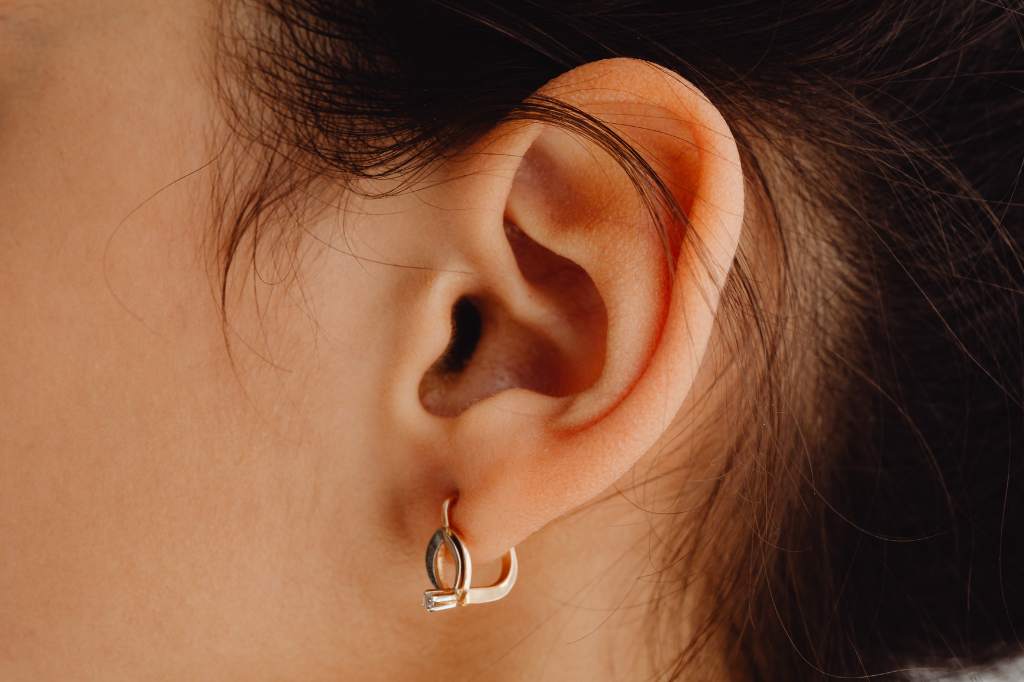
Instructions for locating acupressure points on the ear
Now, let’s dive into the core of ear seeding — locating acupressure points on the ear. Each point corresponds to different benefits, and accurately locating them is crucial for effective ear seeding.
The basics of ear points
The human ear is like a microcosm of the entire body. Various acupressure points on the ear correspond to different organs and functions in the body. For instance, the Shen Men point is associated with relaxation and stress relief, while the Appetite Control point can help manage food cravings.
Accurate location
Acupressure charts like Auriculo 360 (the one we always recommend) can help you identify the precise points. To locate these points on your own ear, use a small mirror to observe your ear or ask a friend for assistance. Once you’ve located the points and touched them with your fingertips to “get the feel of them,” you’re ready to apply your ear seeds.
Ear seed instructions for applying them to your ears
Applying ear seeds correctly is crucial to their effectiveness. Let’s go through the process step by step to ensure you get it right.
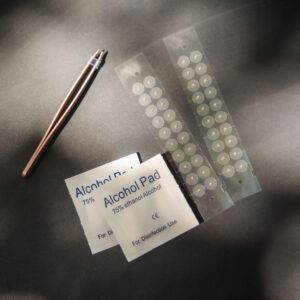
Step 1: Gather your tools
You’ll need a pair of tweezers, a mirror, an auriculotherapy chart, and your chosen ear seeds. Make sure your hands are clean before starting.
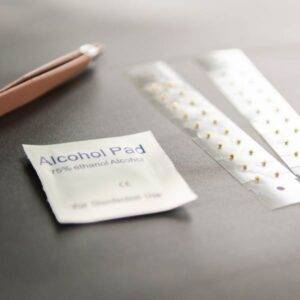
Step 2: Prepare the area
Clean the ear gently with alcohol or a disinfectant wipe to ensure it’s free from dirt and oil.
Step 3: Place the ear seed
Using your tweezers, pick up an ear seed and place it on the desired acupressure point. Apply gentle pressure to secure it in place.
Step 4: Repeat as needed
Repeat this process for any other acupressure points you want to target. Be sure to follow the guidelines provided by the Auriculo 360 ear seed placement app for the number of seeds to use.
Step 5: Check for comfort
Ensure the ear seeds are comfortable and not causing any irritation. If discomfort occurs, reposition them slightly.
By following these steps, you’ll apply your ear seeds with confidence and precision.
Ear seed instructions for everyday wear
Now that your ear seeds are in place, let’s discuss how to wear them effectively for the best results.
Ear seeds should be worn for 3 to 5 days at a time before they fall off on their own or you choose to remove them. But don’t delay in reapplying them after you clean your ears and give them a few hours of rest. According to research studies on auricular acupressure and ear seeds, they are effective when worn consistently.
The 4-3-1 Rule as a guideline
- 4 weeks: The minimum amount of time to wear the ear seeds (change them out every three to five days for new ones, however)
- 3 times per day: How often each day to “stimulate” the seeded ear points by applying pressure; we recommend setting an alarm for breakfast, lunch, and dinner to remind you to stimulate your ear points then
- 1 minute each time: How long to apply pressure each time you do it
It’s important to follow this rule because it’s derived from peer-reviewed research.
Instructions for managing discomfort and sensations
As you wear your ear seeds, you might notice various sensations, such as tingling or warmth. These sensations are perfectly normal and indicate that the ear seeds are working their magic. Here’s how to manage them:
Embrace the sensations
Tingling or warmth are signs that the acupressure points are being stimulated. Embrace these feelings as a positive sign that your ear seeds are doing their job.
Manage any discomfort
If sensations become uncomfortable, gently press the ear seeds to adjust their position. Ensure they are snug but not overly tight. Remember, your comfort is a priority, so don’t hesitate to make adjustments as needed, or even remove the ear seeds altogether. Further reading: Why Do My Ear Seeds Hurt?
Instructions for ear seed removal
Once your ear seeds have served their purpose, it’s time to remove them. Proper removal is essential to avoid skin irritation.
Gentle removal
Using your tweezers, gently lift the ear seeds from the acupressure points. Avoid tugging or pulling to prevent skin irritation.
Clean the area
After removal, clean the ear area once again with alcohol or a disinfectant wipe to ensure it’s free from any residue.
Ear seed instructions for safe storage
If you have unused ear seeds, proper storage is key to maintaining their effectiveness.
Keep them safe
Store your ear seeds in a clean, dry container or resealable bag away from anything that could compromise the ear seeds and cause them to roll off their adhesive stickers (this can and does happen often if you’re not careful, and it leads to wasted ear seeds!). Make sure they are protected from moisture, direct sunlight, and temperature extremes.
Instructions for following safety precautions and protocols
Lastly, it’s crucial to be aware of safety precautions and potential contraindications associated with ear seeding.
Safety first
If you have any medical conditions or concerns, consult with a healthcare professional before using ear seeds. They can provide guidance tailored to your specific needs.
Contraindications
Avoid using ear seeds on open wounds, infected areas, or if you have a history of skin allergies. If you experience unusual or severe reactions, remove the ear seeds immediately and seek medical advice.
To sum it up
With these ear seed instructions, you’ve now mastered the art of ear seed application, management, and maintenance! By following these ear seed instructions and guidelines, you can make the most out of your DIY, at-home auriculotherapy experience and embark on a journey to better well-being. Remember that ear seeding is a personalized experience, so listen to your body and enjoy the benefits it brings to your life.
Happy seeding!