You have 0 items in your cart
Knowing exactly which ear acupressure point to use for your specific condition or symptoms can be overwhelming. With so many different ear placement charts available online and in print — and not all of them even matching — we can see how it would be confusing.
But don’t worry! We’re here to guide you in using ear acupressure, the DIY at-home alternative to ear acupuncture, step by step:
- Buying ear acupressure seeds
- Starting your free trial to an ear acupressure point app
- Choosing which ear acupressure point protocol to use
- Applying ear acupressure seeds
- Following best practices for earseeding
Disclosure: This article contains affiliate links. When you click an affiliate link and make a purchase, we may earn a commission at no additional cost to you. These commissions help support and maintain our business. Thank you for your support!
Buying ear acupressure seeds
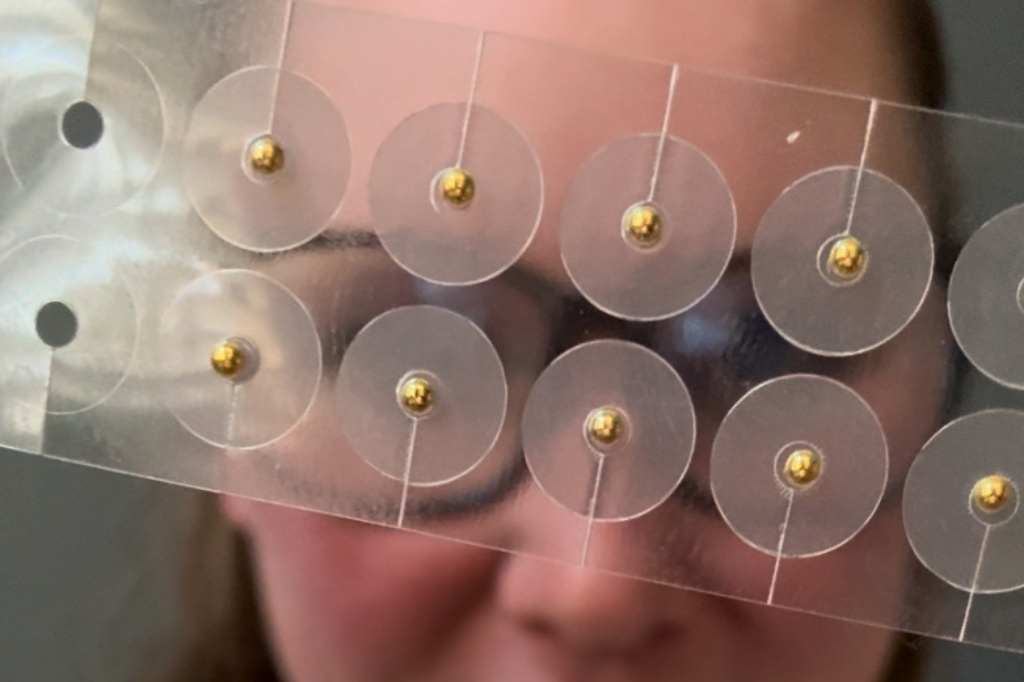
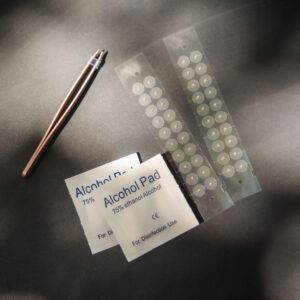
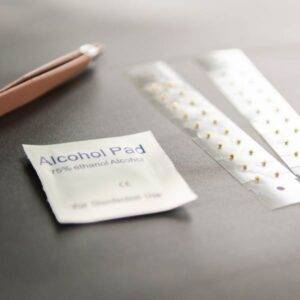
Congrats! If you’re reading this, it’s safe to say you’re ready to try ear acupressure. You’ve come to the right place because we sell ear seeds in your choice of gold or silver. In addition to ear seeds, we can provide other ear seeding tools like precision tweezers and alcohol wipes for cleaning your ears prior to earseeding.
Starting your free trial to an ear acupressure point app
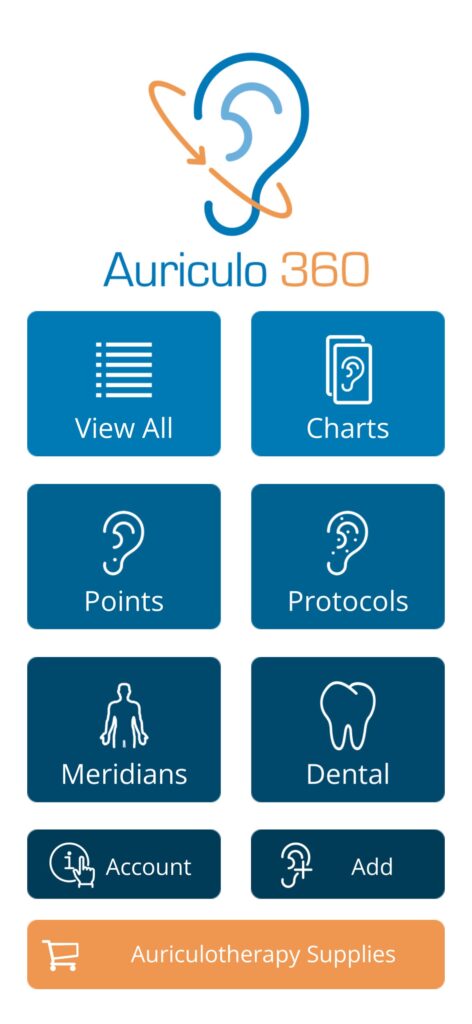
After you buy ear seeds, the next step is to start the 30-day trial to the leading ear acupressure point app, Auriculo 360. It’s called Auriculo 360 because:
- “Auriculo” is a word related to “ear”
- 360 refers to the app feature of being able to zoom, move, expand, and rotate a 3D ear
And that’s why we love and recommend Auriculo 360 to our customers and clients — because nothing you’ll find online or in print comes close to the sophistication and usability of being able to see each ear acupressure point on an interactive 3-dimensional ear. Not only is the ear interactive, but you can customize it as well, choosing which skin color best matches your own.
Further reading: Auriculo 360 Review: What We Love 💗 & What Could Be Better 👂
Choosing which ear acupressure point protocol to use
Once you subscribe to Auriculo 360 (which you can cancel anytime) and log in to your account, tap “Protocols”:
Knowing which ear acupressure point to use depends on which protocol you choose. Auriculo 360 gives you over 180 protocol options. That’s a lot! So whatever it is you’re dealing with, whether hot flashes, arthritis, anxiety, tinnitus, or something else, you’re highly likely to find the protocol that meets your needs. And once you tap into that protocol, you’ll see on the 3D ear the set of acupressure points you should use for your specific condition or symptoms.
Here’s the protocol for ear infections as an example:
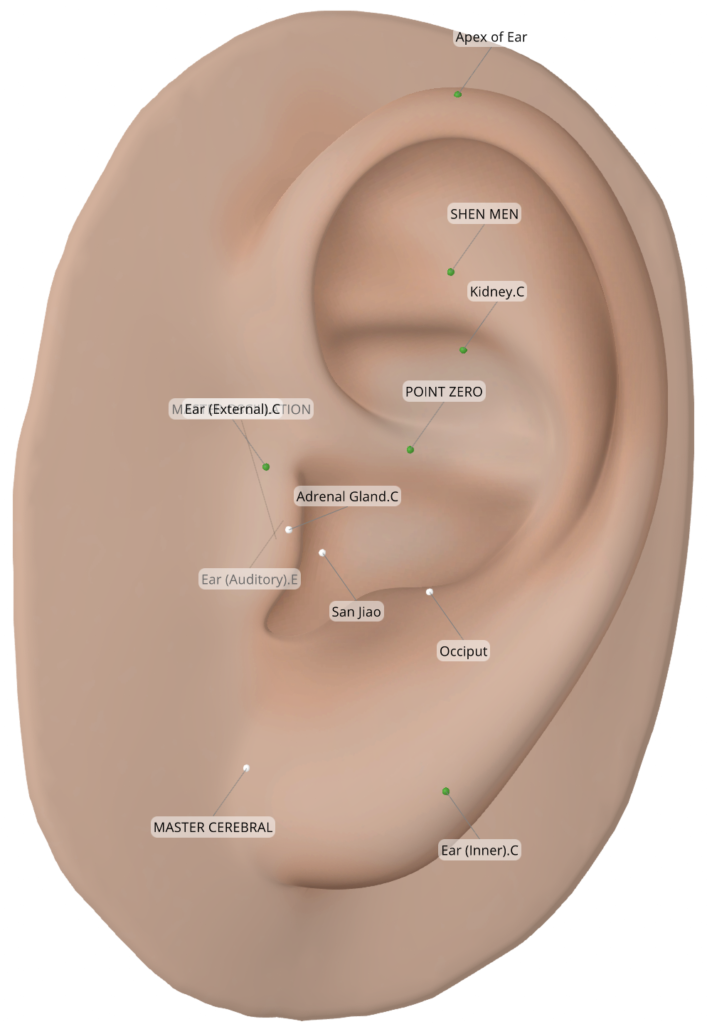
The ear acupressure points on Auriculo 360 are plotted from the gold-standard Chinese and European frameworks of auriculotherapy. The green dots on the ear maps represent the primary points, and the white dots represent secondary points. The recommendation for beginners is to use 3-5 primary points at a time on both ears. More advanced ear seed users can expand their protocol to include secondary points as well.
Applying ear acupressure seeds
Once your ear seeds have arrived and once you’ve started your 30-day trial to Auriculo 360, you’re ready to apply ear seeds. Learn How to Apply Ear Seeds Step by Step (7 Steps to Success!) by clicking that link, or follow the abbreviated step-by-step version here:
- Wash your hands and gather your materials (ear seeds, tweezers, alcohol wipes, Auriculo 360, mirror)
- Open the Auriculo 360 app to the protocol you plan to use for ear seeds
- Clean your ears with the alcohol wipes (included in our ear seeds kits)
- Look at the placement chart, then look at your ear and press with your fingertips on the point of your ear you plan to seed; this helps you feel where you’ll need to put the ear seed
- Lift the ear seed from the plastic backing strip, being careful that the tiny bead doesn’t roll off the adhesive sticker
- Press the bead and its adhesive sticker onto your target ear acupressure point, and hold it in place for a few moments to “set” it
- Repeat steps 4-6 for the other ear acupressure point(s) you intend to use ear seeds for
Following best practices for earseeding
Ear seeds are like most health and wellness protocols in that they’re intended to be used steadily and consistently. In peer-reviewed ear seeds research studies, authors of studies usually have their participants wear ear seeds for a minimum of 4 weeks and sometimes up to 12 weeks. Of course, each set of ear seeds only lasts 3-5 days before they should be removed and reapplied (after cleansing the ear again). But the 4 week minimum time for ear seeds to be worn for a protocol represents the “4” in our 4-3-1 rule for ear seeding.
- The “3” represents the number of times (3) to press on each seeded ear acupressure point each day.
- The “1” represents the number of minutes (1) you should apply that pressure each of those 3 times per day.
Scheduling a virtual ear seeds consultation if you need more clarity
For added confidence and peace of mind, we offer 30-minute virtual ear seed consultations with an ear seeds coach in our network. In a virtual consultation, the coach obviously cannot apply ear seeds on your ears, but this is the next best thing, since the coach can advise on which protocol points to use, and how to lift ear seeds and press them on your ears. The coach can also answer any questions you have about making your ear seeding journey a success.
Let us know if you have any questions. We’re happy to help!